TUTS: Uploading custom Logo and Favicon
This short tutorial explain you how to upload your brand logo image and favicon icon. Let’s start.
After you activate new copy of NattyWP theme you’ll probably want to change default theme logo. It’s very simple to do, just login to WordPress Dashboard and open Theme Options page to display all the theme configuration options.
Upload Logo
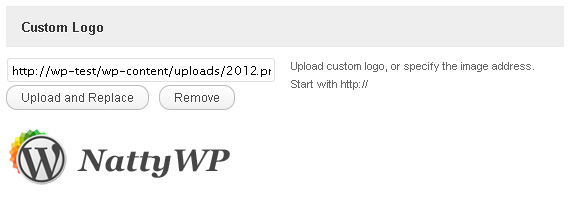
Under the General Options tab you’ll see Custom logo section.

Select image to upload
Click Upload Image and pick an image from your desktop. When uploading ends the logo will be displayed next to upload form.

Logo successfully uploaded
That’s all, you don’t need to click “Update Options”, your new logo will be displayed without any additional actions.
Upload Favicon
First of all, what is a favicon? A Favicon is a little icon comes up in the URL bar and also shows upon tab (if you using tab-browser) but that’s not it. While you browsing your bookmarks you’ll see a little thumbnail, a little image, so peoples can browse thoughts the bookmarks much faster, cause they don’t have to read every entry.
Example of Favicon.ico
How to use Favicon.ico with NattyWP themes
The same as you’ve uploaded Logo you can upload Favicon. Please note that favicon uses special designed .ico format so you should upload only .ico file. To convert your .gif, .jpg or .png image you can use online tool, like Faviconer. You can also draw custom favicon image there.
When you ready, scroll down to “Custom Favicon.ico upload”
Upload section
This area looks exactly the same as Logo uploading form. Click on Upload .ICO file and select .ico that you’ve prepared for your website.
Done, new icon there
When you finish new icon image will be displayed in your browser.
That’s all for today, hope you’ve learned something from this tutorial.

